EVENT SUBMISSION GUIDE MIART 2026
This guide provides a detailed overview of how to complete the event submission form for the miart digital 2026 edition.
Click here to access the event submission form.
How to register
To access the event creation form for miart digital 2026, enter your email address in the dedicated field, accept the Terms and Conditions and the Privacy Policy, then click Register.
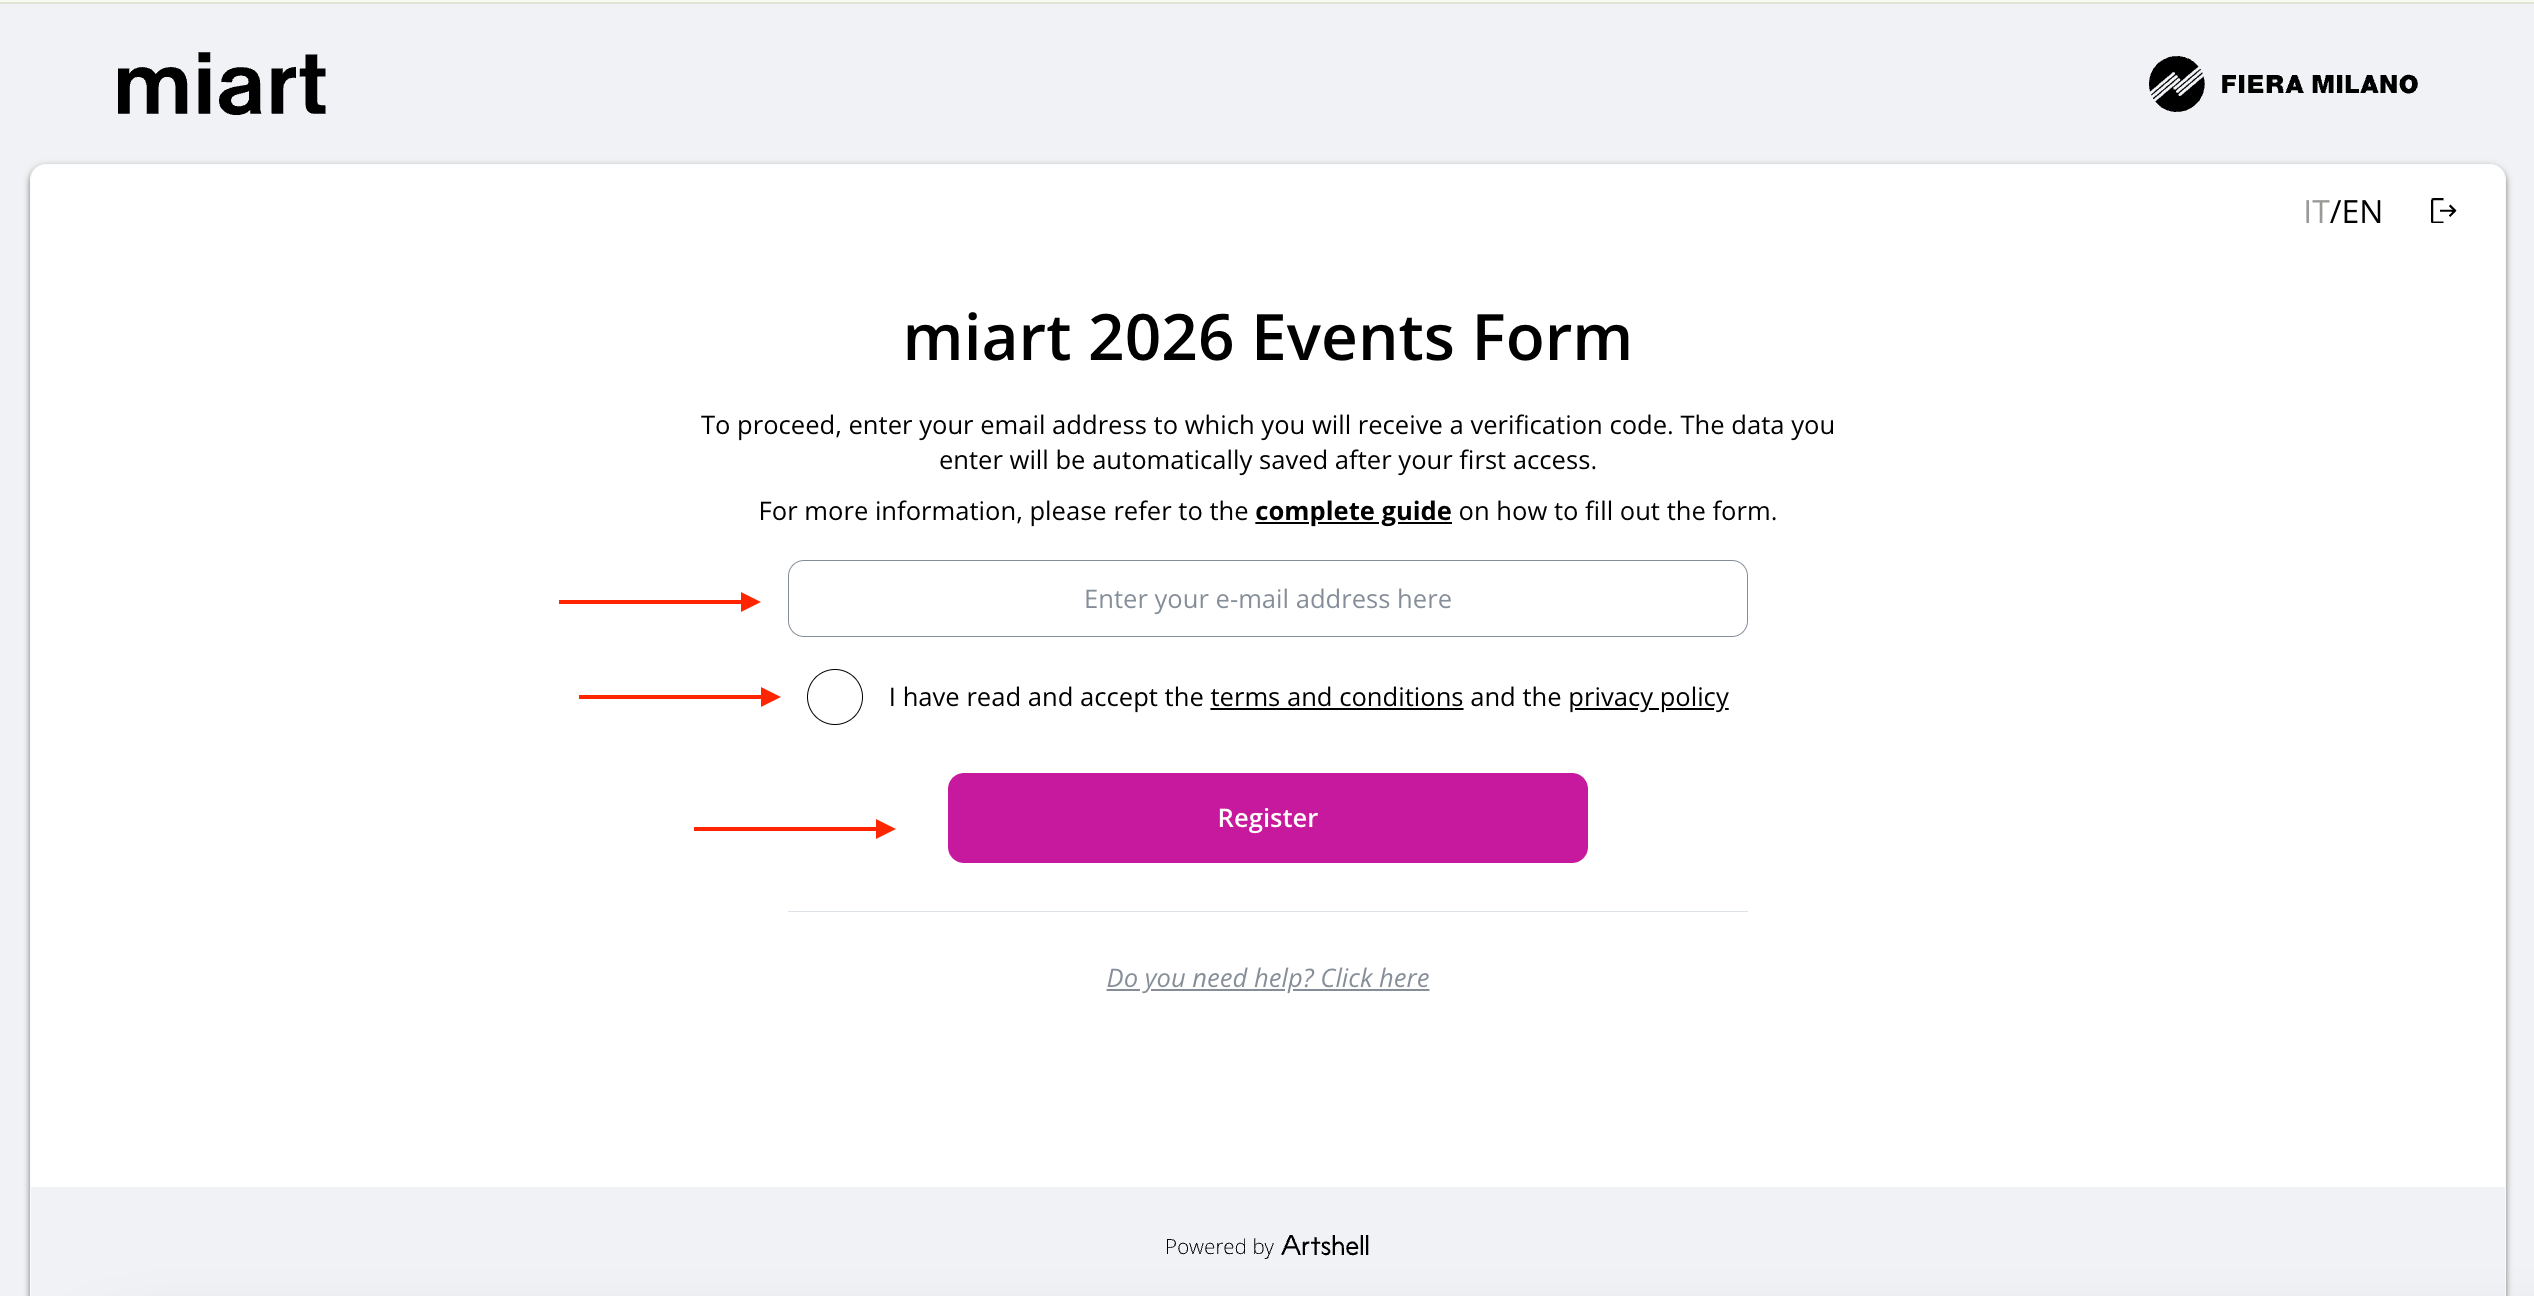
Check your inbox: you should receive an email containing a 6-digit verification code sent to the address you provided.
If you do not see the email, please also check your Spam or Promotions folders.
Copy and paste the 6-digit code into the dedicated field and click Verify code.
If the code does not arrive or has expired, click Resend code.
If you need assistance at any stage, click Need help? and submit a request to the Artshell Support team.
Step 1 – Contact person and Organizer
Fill in the mandatory fields First name, Last name, and Phone number of the event contact person. The Email field will be pre-filled with the address used during registration and cannot be edited.
Then proceed by entering the name of the Organizer and the public contact details (email, phone number, website).
Finally, click Save and continue to proceed, or Save and continue later to save your progress and resume at a later time.
Step 2 – Event information
In this step, enter all the information related to the event you wish to propose.
Next to some fields you will see a [?] icon: click it to view helpful suggestions for completing the field. If you need further support, you can always click Need help? at the bottom of each page.
• Event details
Enter the event title, any subtitle, and curatorial information.
Use capital letters only where necessary and avoid writing titles entirely in uppercase.
Complete both the ITA version and ENG version fields.If the title does not require translation, repeat the same text in both fields.
• Event location
Enter the details of the event location. If the location coincides with the Organizer, repeat the same name in the Location name field. Otherwise, enter the name of the external venue.
Copy and paste the Google Maps URL of the location as indicated in the suggestions, then start typing the address in the Street address field. The system will automatically complete the remaining fields (Postcode, City, Province, Country).
Check that the map pin is correctly positioned and adjust it manually if needed.
• Dates, times and access
Add one or more Activities to your event. An event may consist of a single activity or multiple activities (for example: opening, talk, performance, etc.).
All activities will belong to the same main event.
⚠️ Important note: Additional details related to activities can be added in Step 3 within the Description field. Individual activities do not have their own title or image. If you wish an activity to have a specific title, image or a different location, we recommend submitting it as a separate event. To do so, complete all steps for the first event and then select Create a new event.
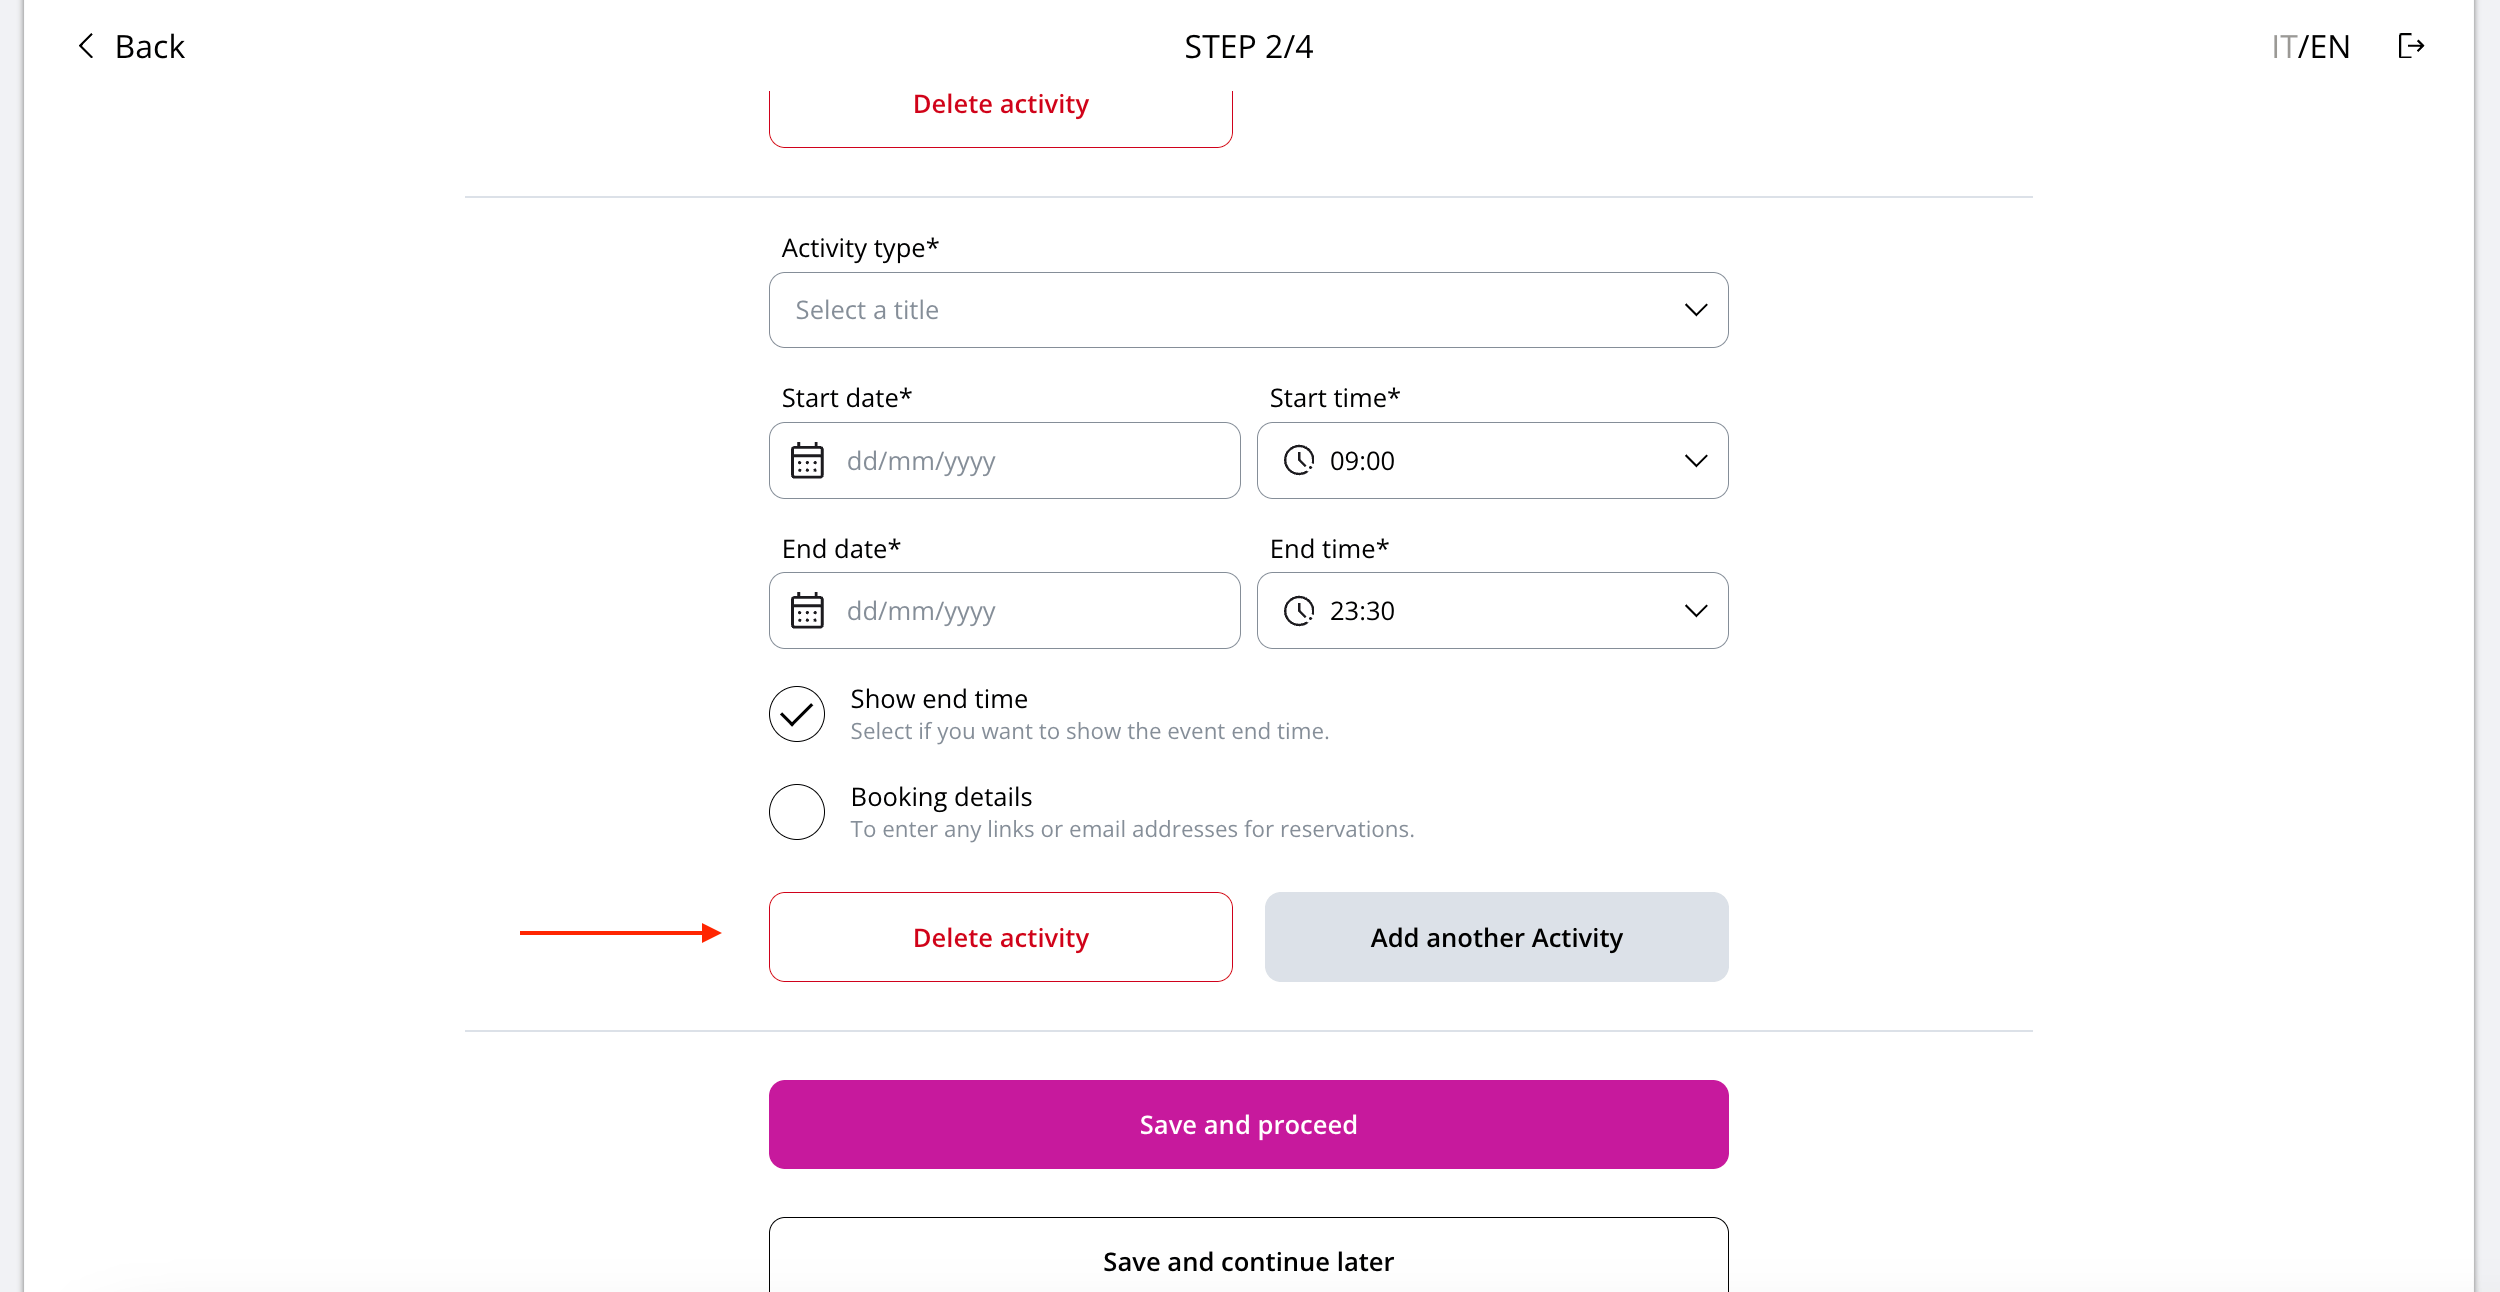
To add an activity, select the activity type from the dropdown menu, then enter the start date, end date and time.
The Show end time option is enabled by default. If you prefer not to display the end time, or if the event ends after 11:30 pm, we recommend disabling this option.
If the activity lasts only one day, set the end date equal to the start date.
For multi-day activities, you can set specific opening hours for each day of the week by selecting Customize your weekly opening hours.
If the event requires booking through an external ticketing system or you want to add other details about the activity, use the Booking details field.
You can add additional activities using the Add another activity to your event button. To remove an activity created by mistake, click Delete activity.
Step 3 – Event content
In this section, enrich your event with images, videos and a description.
A complete and accurate completion of this step will ensure optimal presentation of your event on miart digital 2026.
• Images
Please read the following image guidelines carefully:
• Choose images without logos or text. Images may be cropped on certain devices or layouts, so use visuals that adapt well to cropping, with subjects centred rather than near the edges.
• Use horizontal images. Recommended size: 2000 × 1380 px.
• You may upload up to 5 images in .jpg or .png format, with a maximum size of 5 MB per file.
• The first image uploaded will be used as the event cover image.
• Videos
You may add up to 2 videos by inserting a YouTube or Vimeo link.
• Event description
Provide a description of the event in both Italian and English, following the suggested guidelines.
• Event webpage link
You may enter the specific webpage dedicated to the event, if different from the Organising body’s homepage entered in Step 1.
If the dedicated event page does not yet exist or the URL is expected to change, we recommend entering the Organising body’s homepage instead.
When finished, click Save and continue or Save and continue later.
Step 4 – Event summary
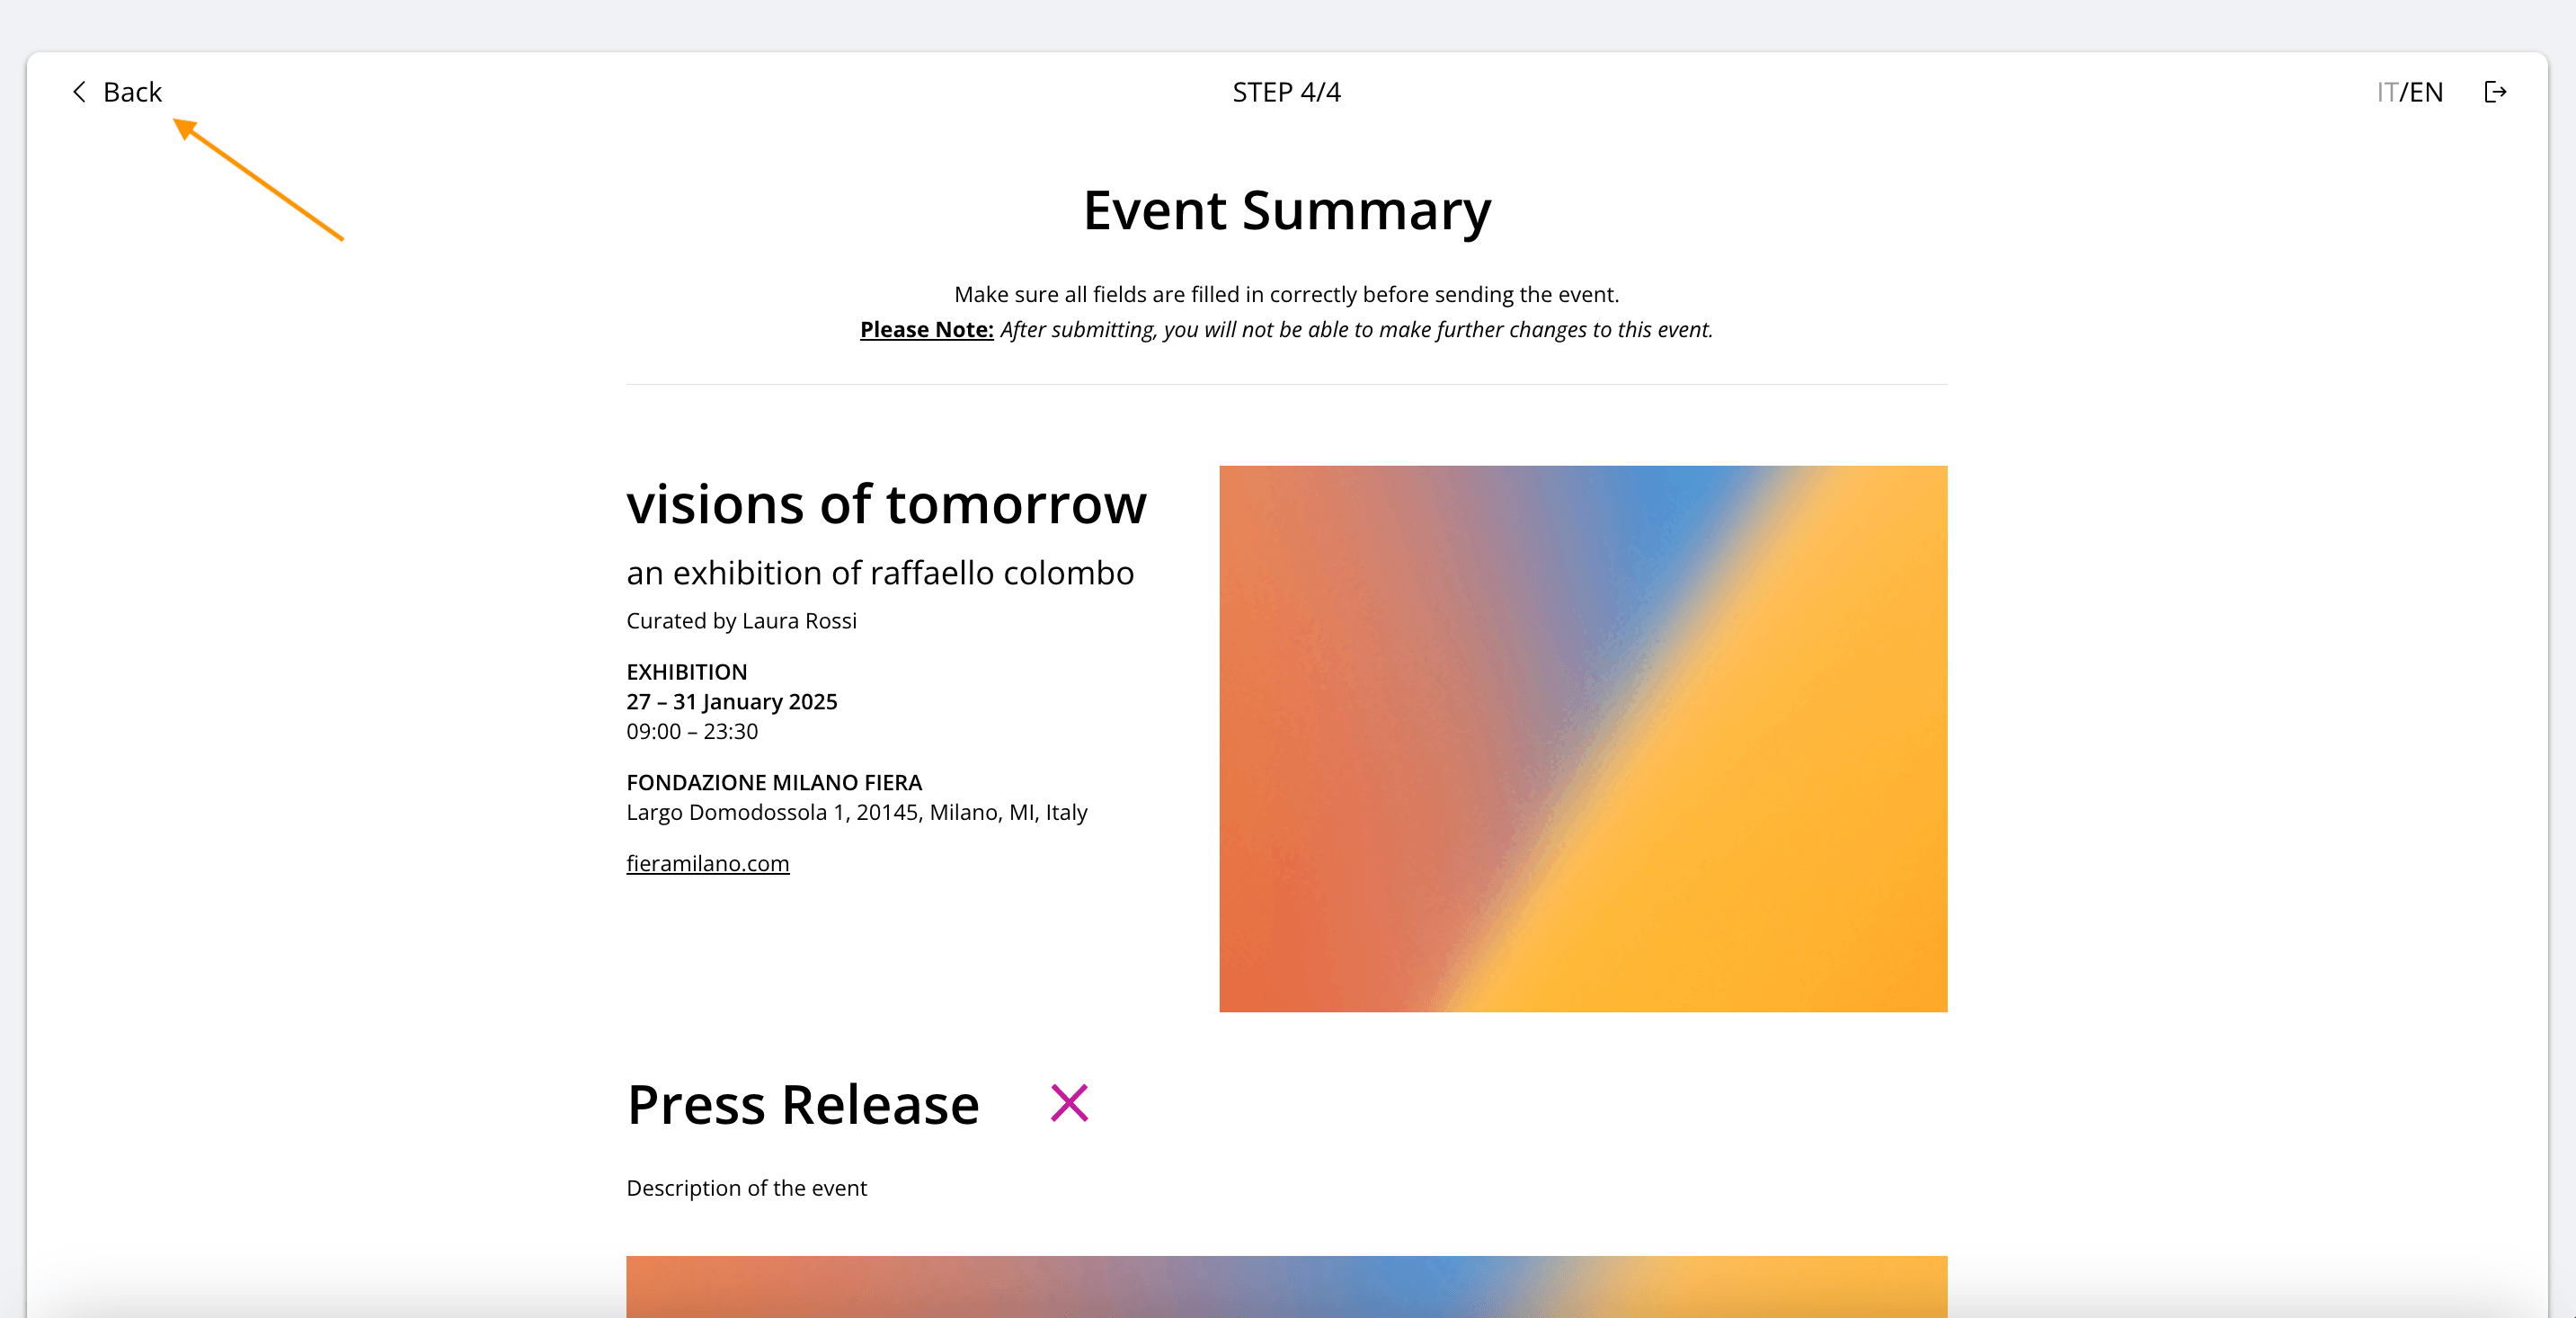
In this step, you will see a complete preview of the event as it will appear online on miart digital 2026. Carefully review all information.
If you notice any errors or missing details, go back to the previous steps using the Back button in the top left corner.
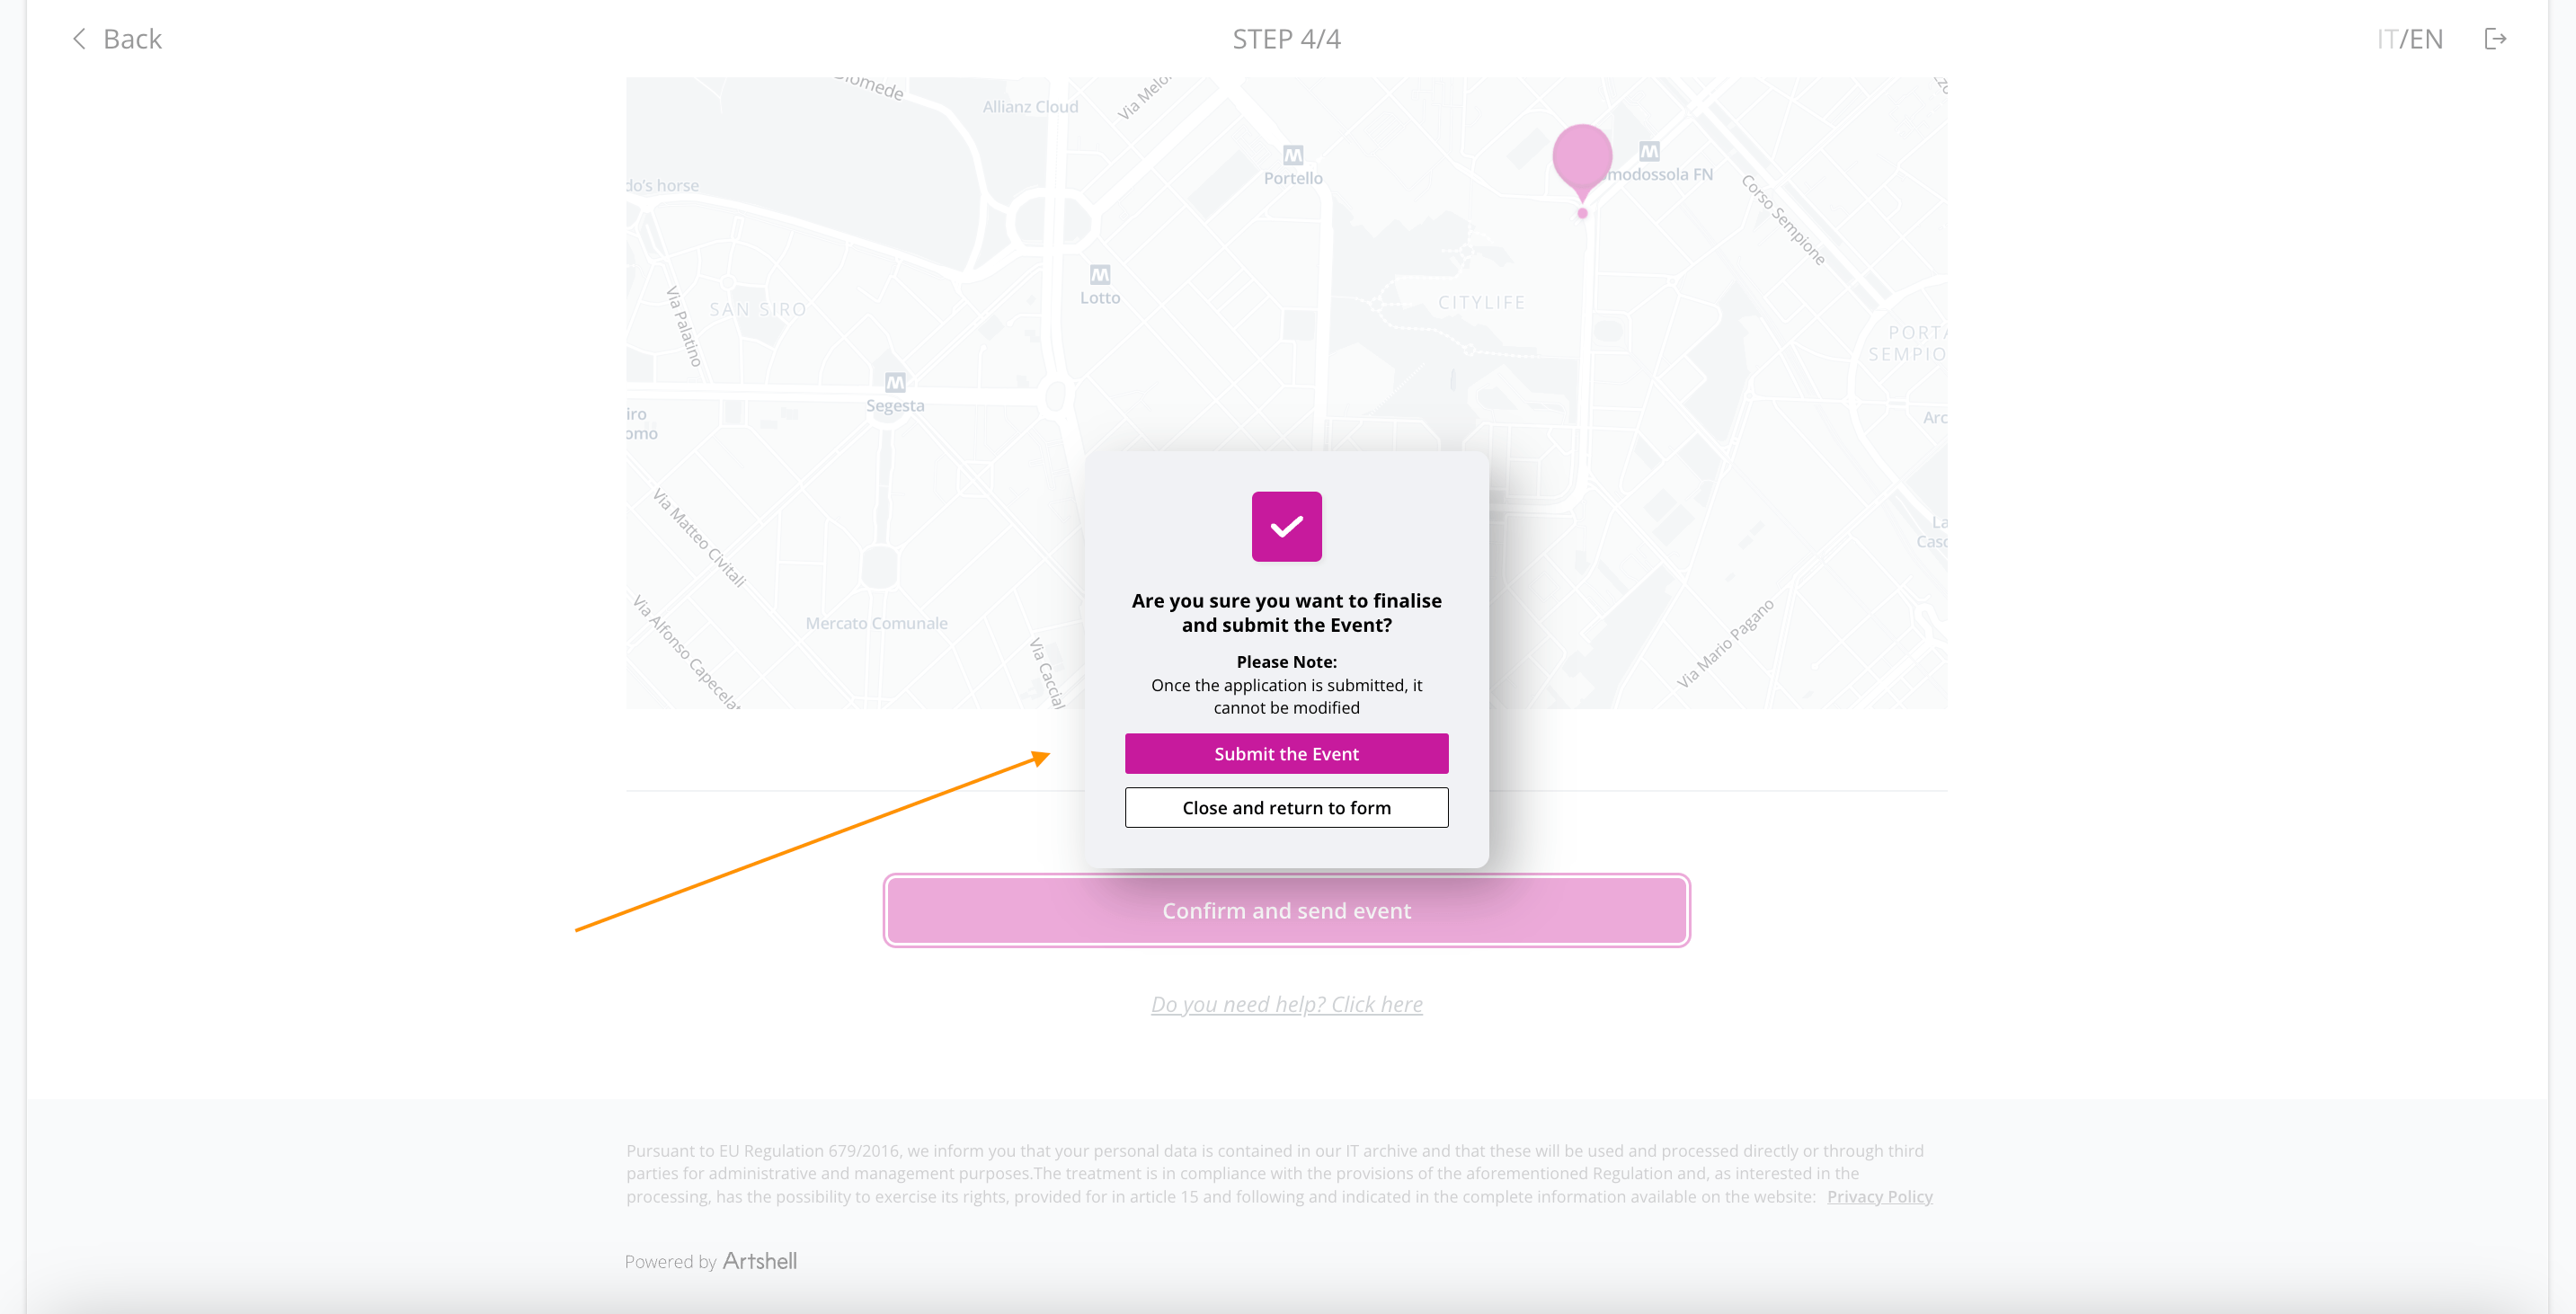
When the content is final, submit your event proposal by clicking Confirm and submit event.
⚠️ IMPORTANT: once the event has been submitted, it will no longer be possible to edit it through the form.
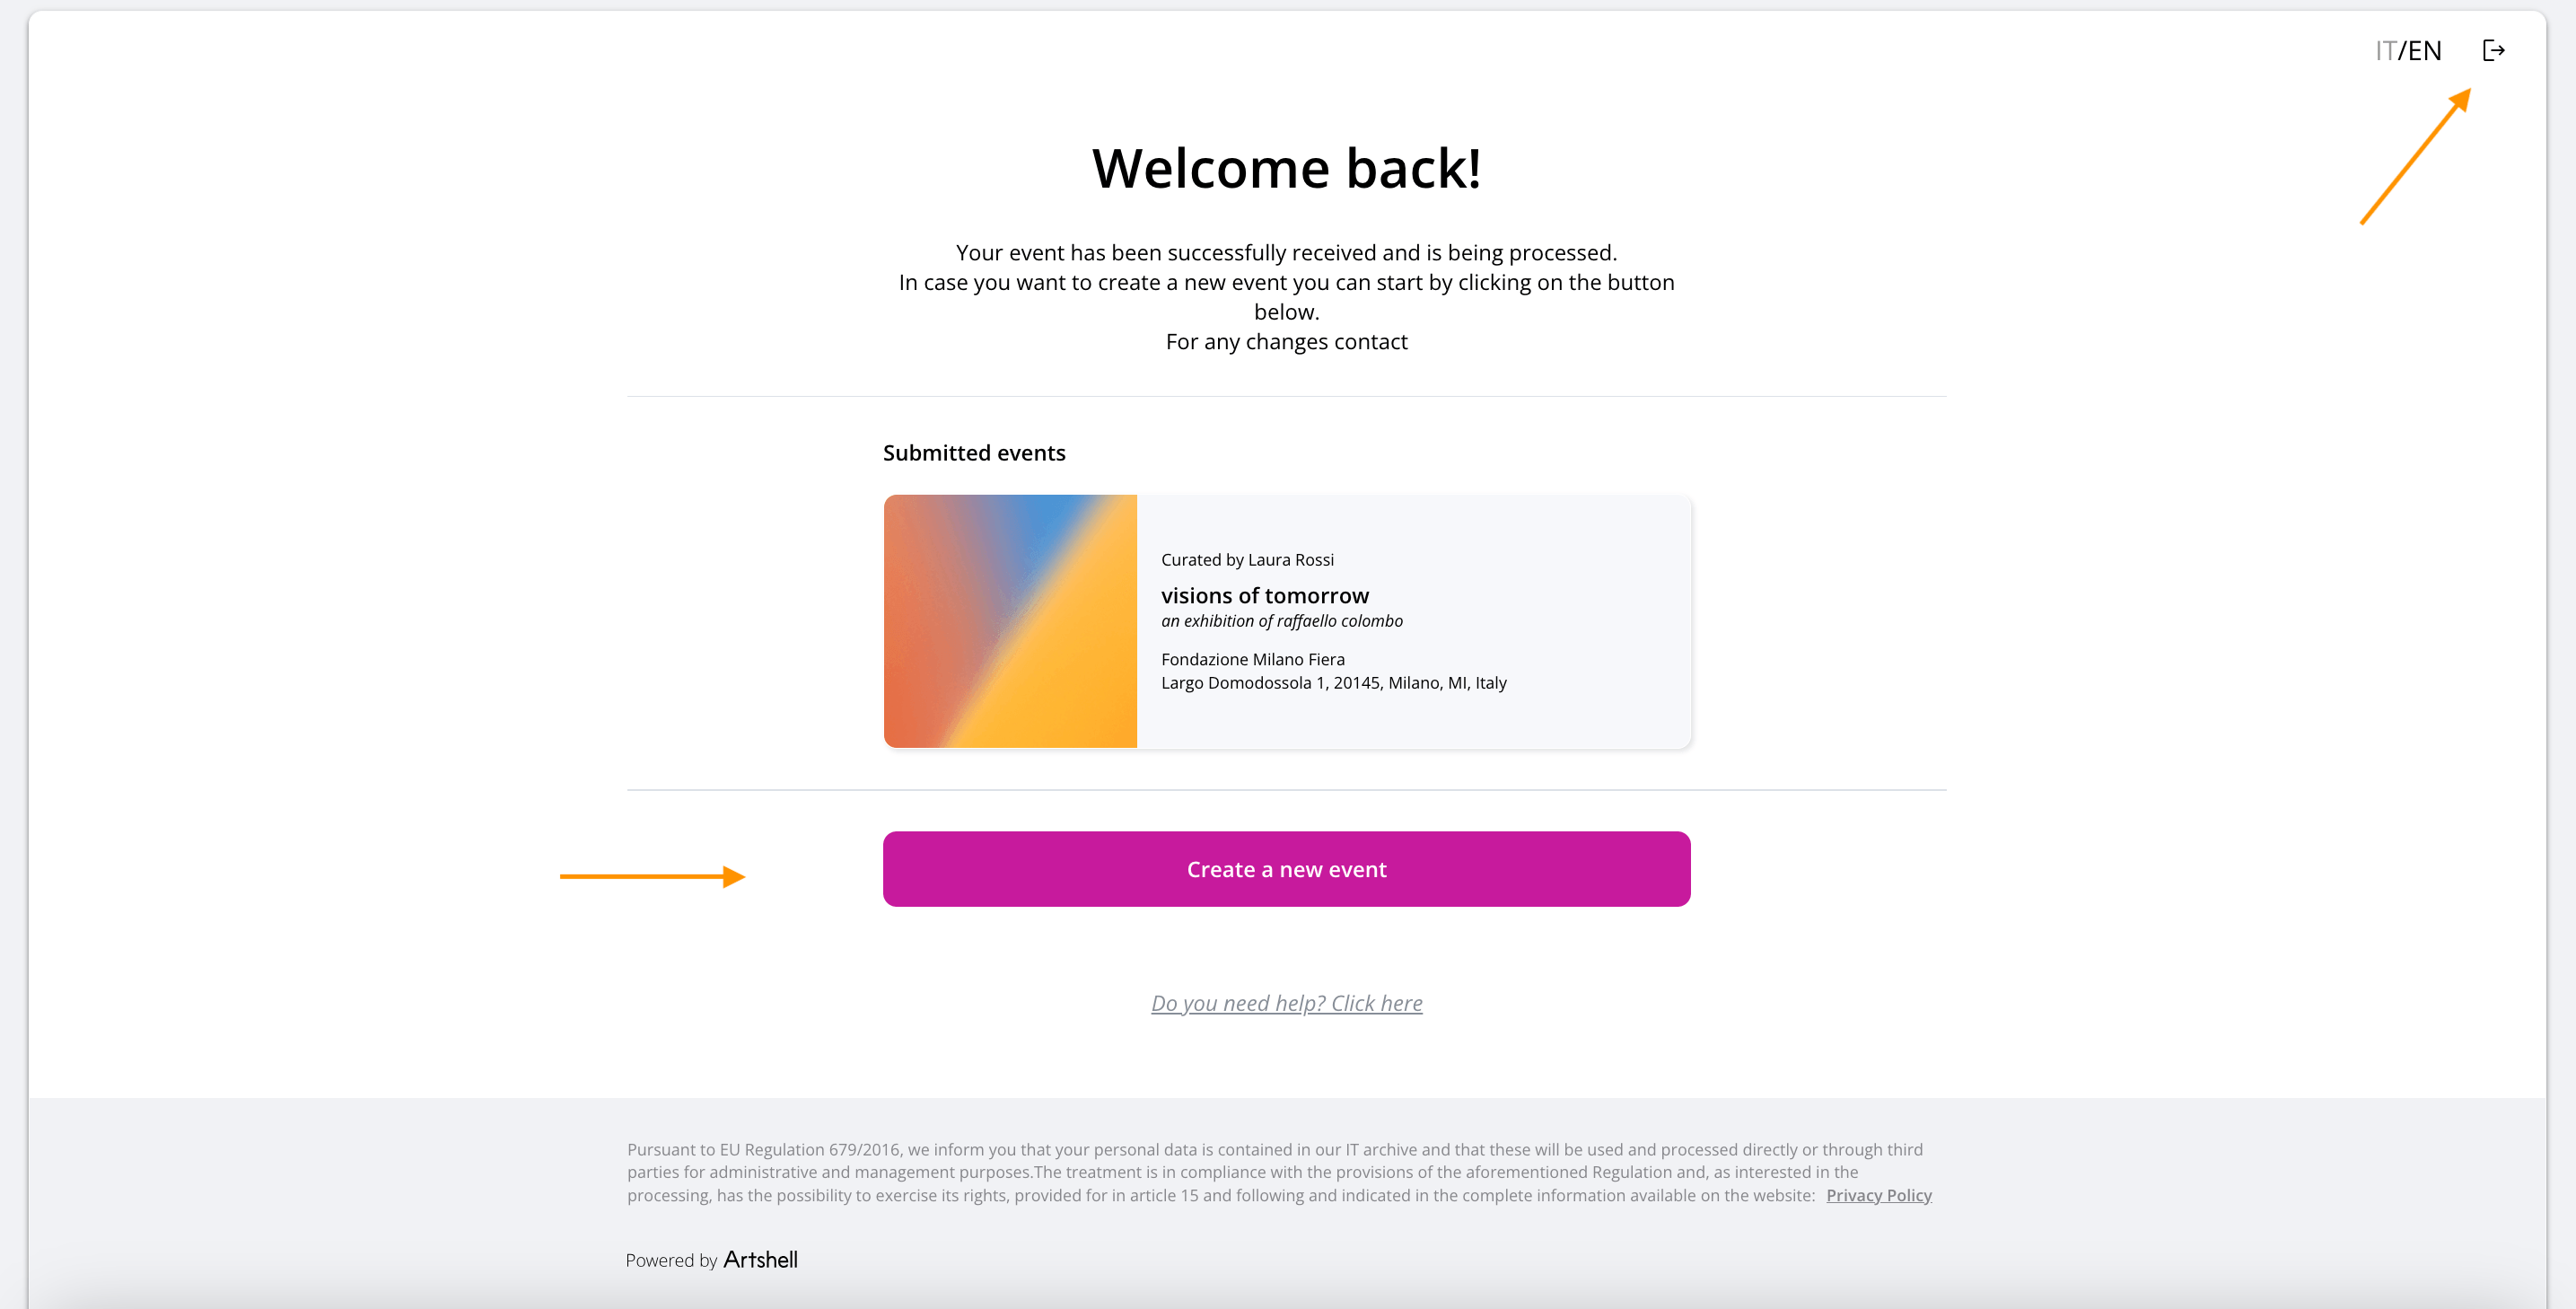
To create a new event, click Create new event. To exit the form, click the arrow icon in the top right corner.
Have you already logged out?
If you wish to access the form again to create another event, enter the same email address used previously and follow the instructions in the How to register section of this guide.
Confirmation and follow-up emails
Once you click Confirm and submit event, your proposal is officially submitted to the miart 2026 organisation and can no longer be edited independently through the form.
Shortly after submission, you will receive a confirmation email at the address used during registration.
This email confirms that the form has been successfully submitted and taken into charge by the organisation, and includes a summary of the main event information you provided. We recommend keeping this email for reference.
The proposal will then be reviewed by the organising team. At the end of this process, you will receive a second email informing you whether or not the event has been included in the official programme.
If needed, you may contact letizia.ferro@fieramilano.it.